
Contact Form
The Contact Form plugin is for projects that need lead capture on the published website.
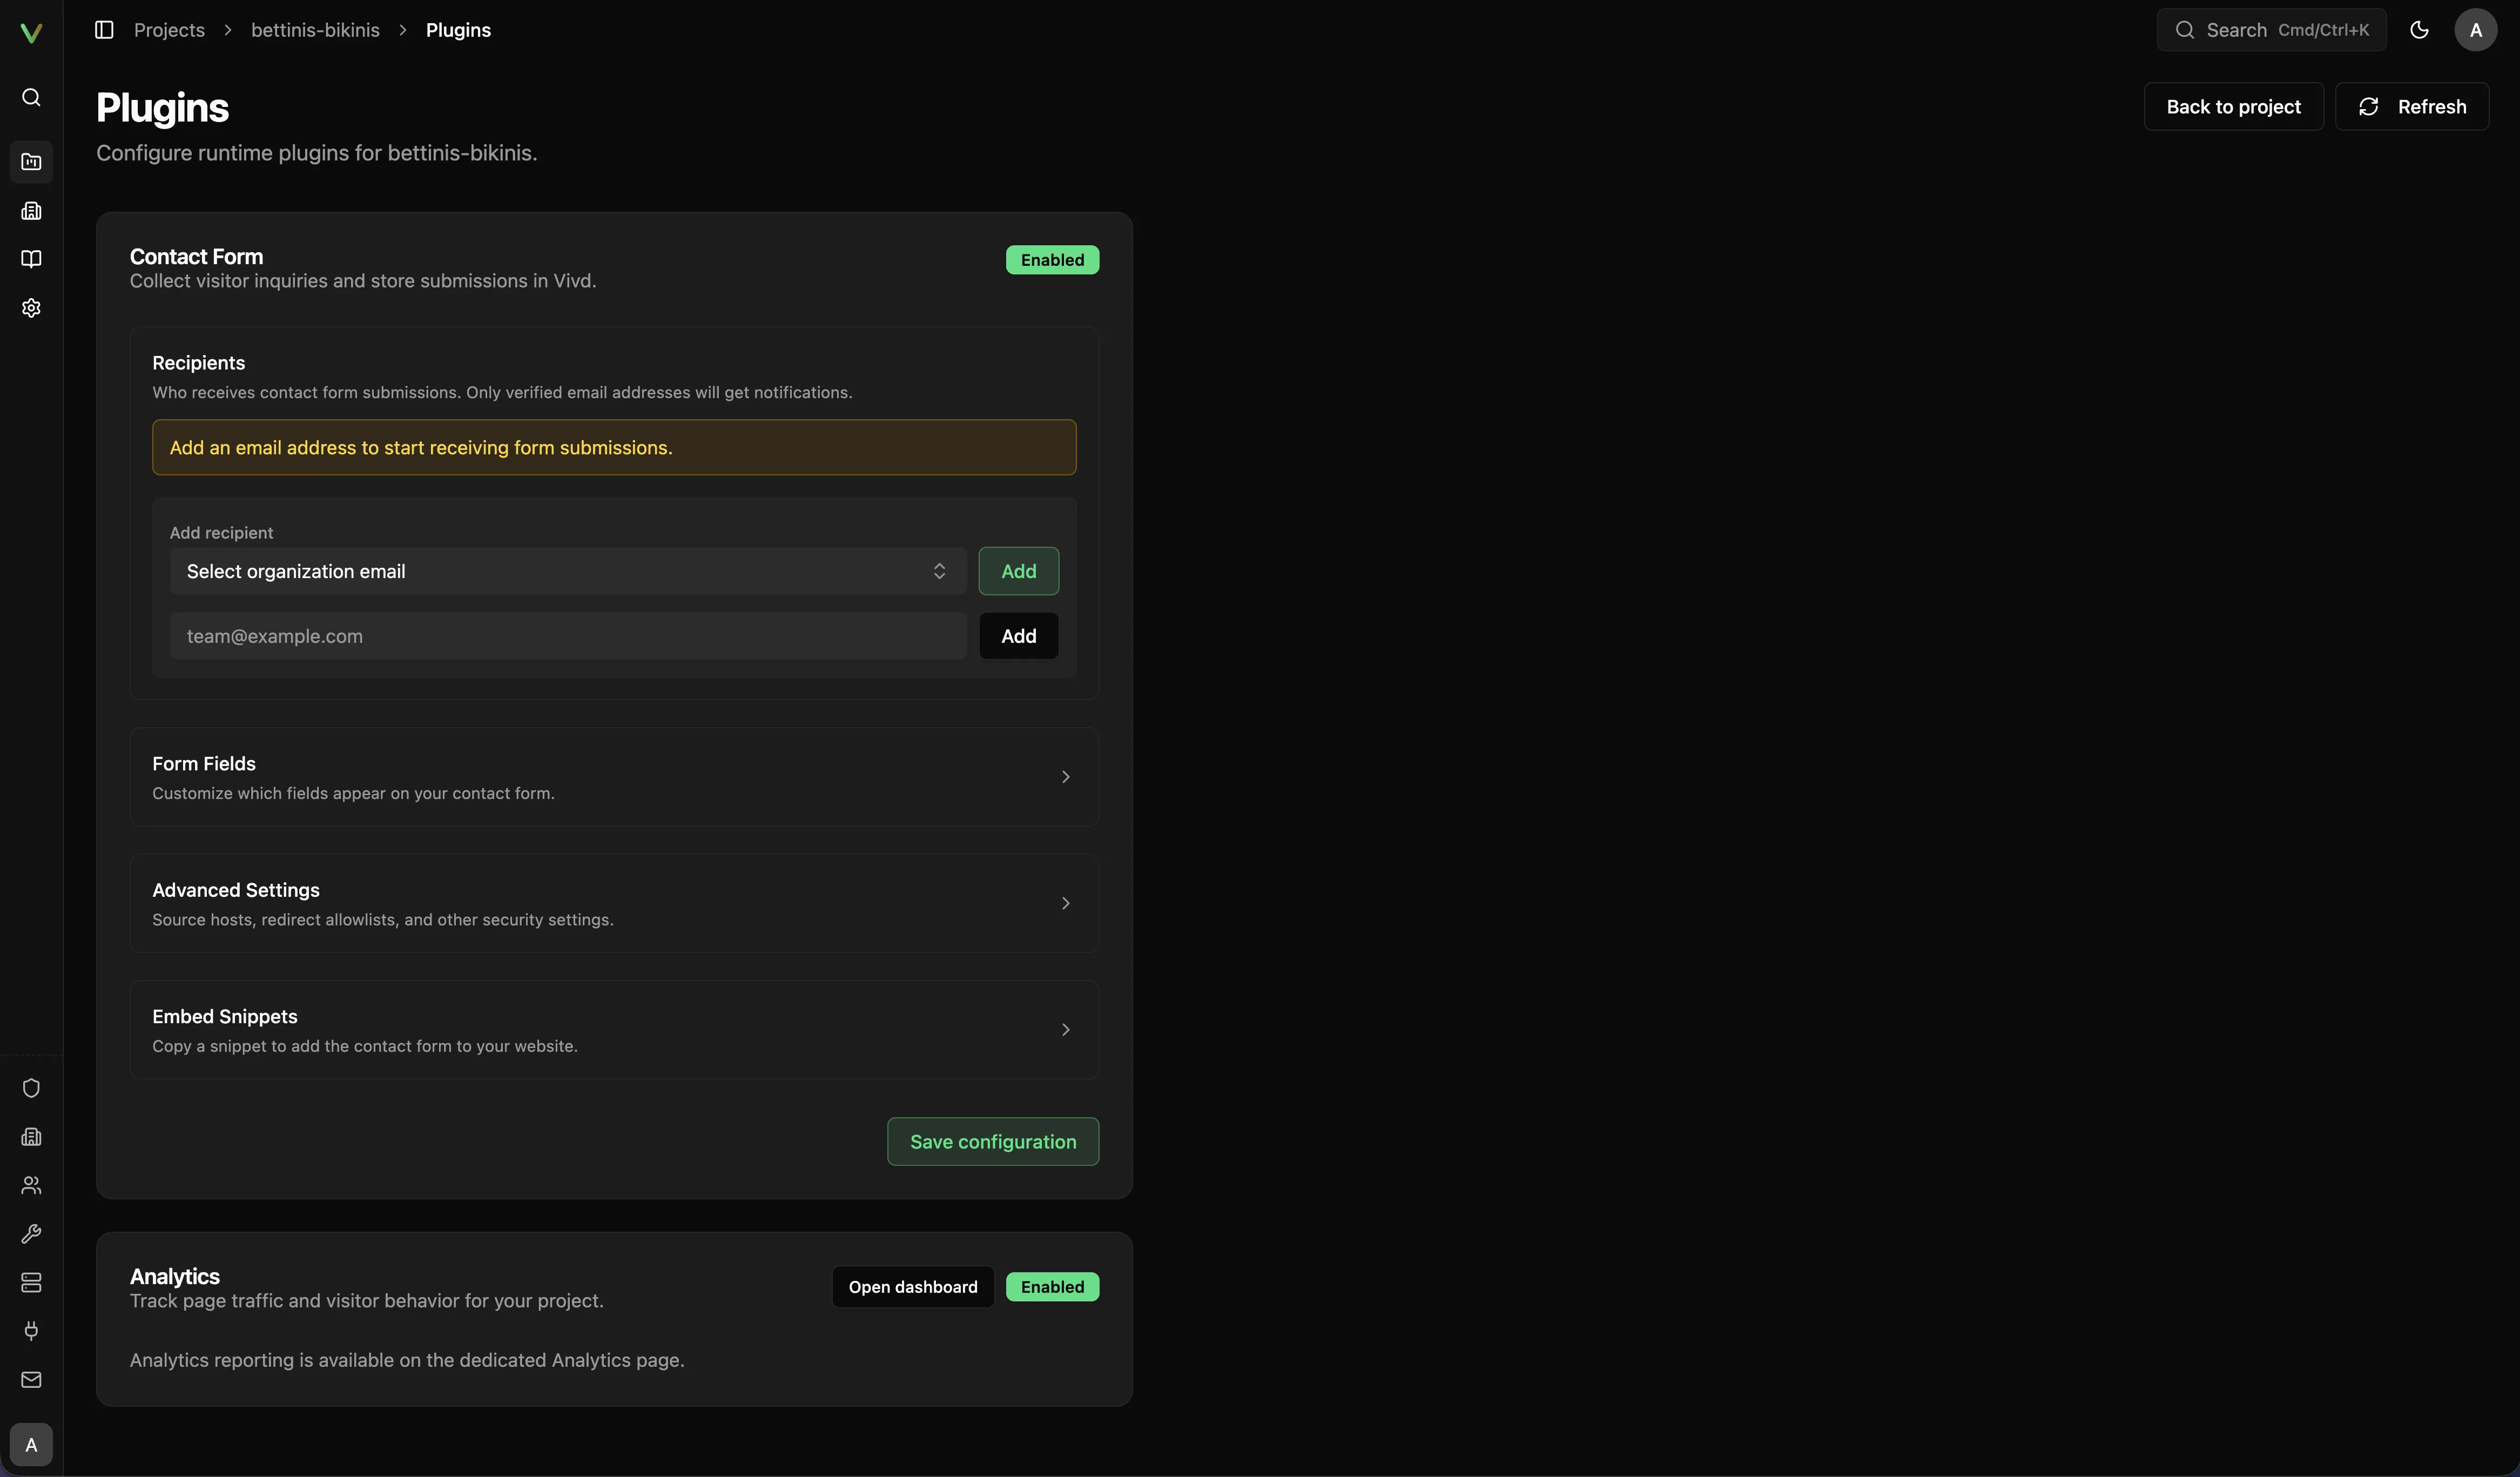
What to configure
- Enable the Contact Form plugin for the project.
- Define the fields that should appear in the form.
- Add or verify the recipient email addresses that should receive submissions.
- Use the generated snippet or supported integration pattern in the site where needed.
- From Studio/agent workflows, use
vivd plugins snippets contact_form [html|astro]to print the exact install snippet instead of rebuilding it manually.
Recommended launch check
- Confirm the recipient list is correct.
- Submit a real test message.
- Verify that the message reaches the intended inbox.
- Re-check the site after publishing to confirm the live form behaves the same way.
Good defaults
- Keep the form short on the first release.
- Ask only for information you will actually use.
- Make the call to action specific to the business outcome.
Troubleshooting cues
- If the form is visible but messages never arrive, re-check the configured recipients.
- If recipients are correct but delivery still looks wrong, review the transactional email configuration for the current deployment.
- If you changed the form structure, run a fresh end-to-end test before publishing.
- Leave
Allowed source hostsempty unless you explicitly need a manual allowlist. Setting values there overrides Vivd’s auto-detected published and Studio preview hosts, which can cause Turnstile hostname-authorization failures in preview if the list is too narrow. - If the live site behaves differently from Studio, see Troubleshooting.
For self-hosted installs, use Email & Deliverability when the problem looks install-wide rather than project-specific.