
Getting Started
You only need four concepts to find your way around Vivd. Everything else in these docs builds on them.
The team or client space that owns your websites.
One website in Vivd, with its versions, assets, plugins, and publish settings.
The editing environment where you refine the site with AI and direct edits.
The published result on your real domain.
Fastest path to a first live site
Before you start, have three things ready: access to a Vivd organization, a clear business description with brand assets and any useful design references, and the domain you want to publish to later.
-
Open Vivd and click New website.
-
Pick one of the eight templates if it fits, then describe the site you want in the scratch flow.
-
Let Vivd generate the first version.
-
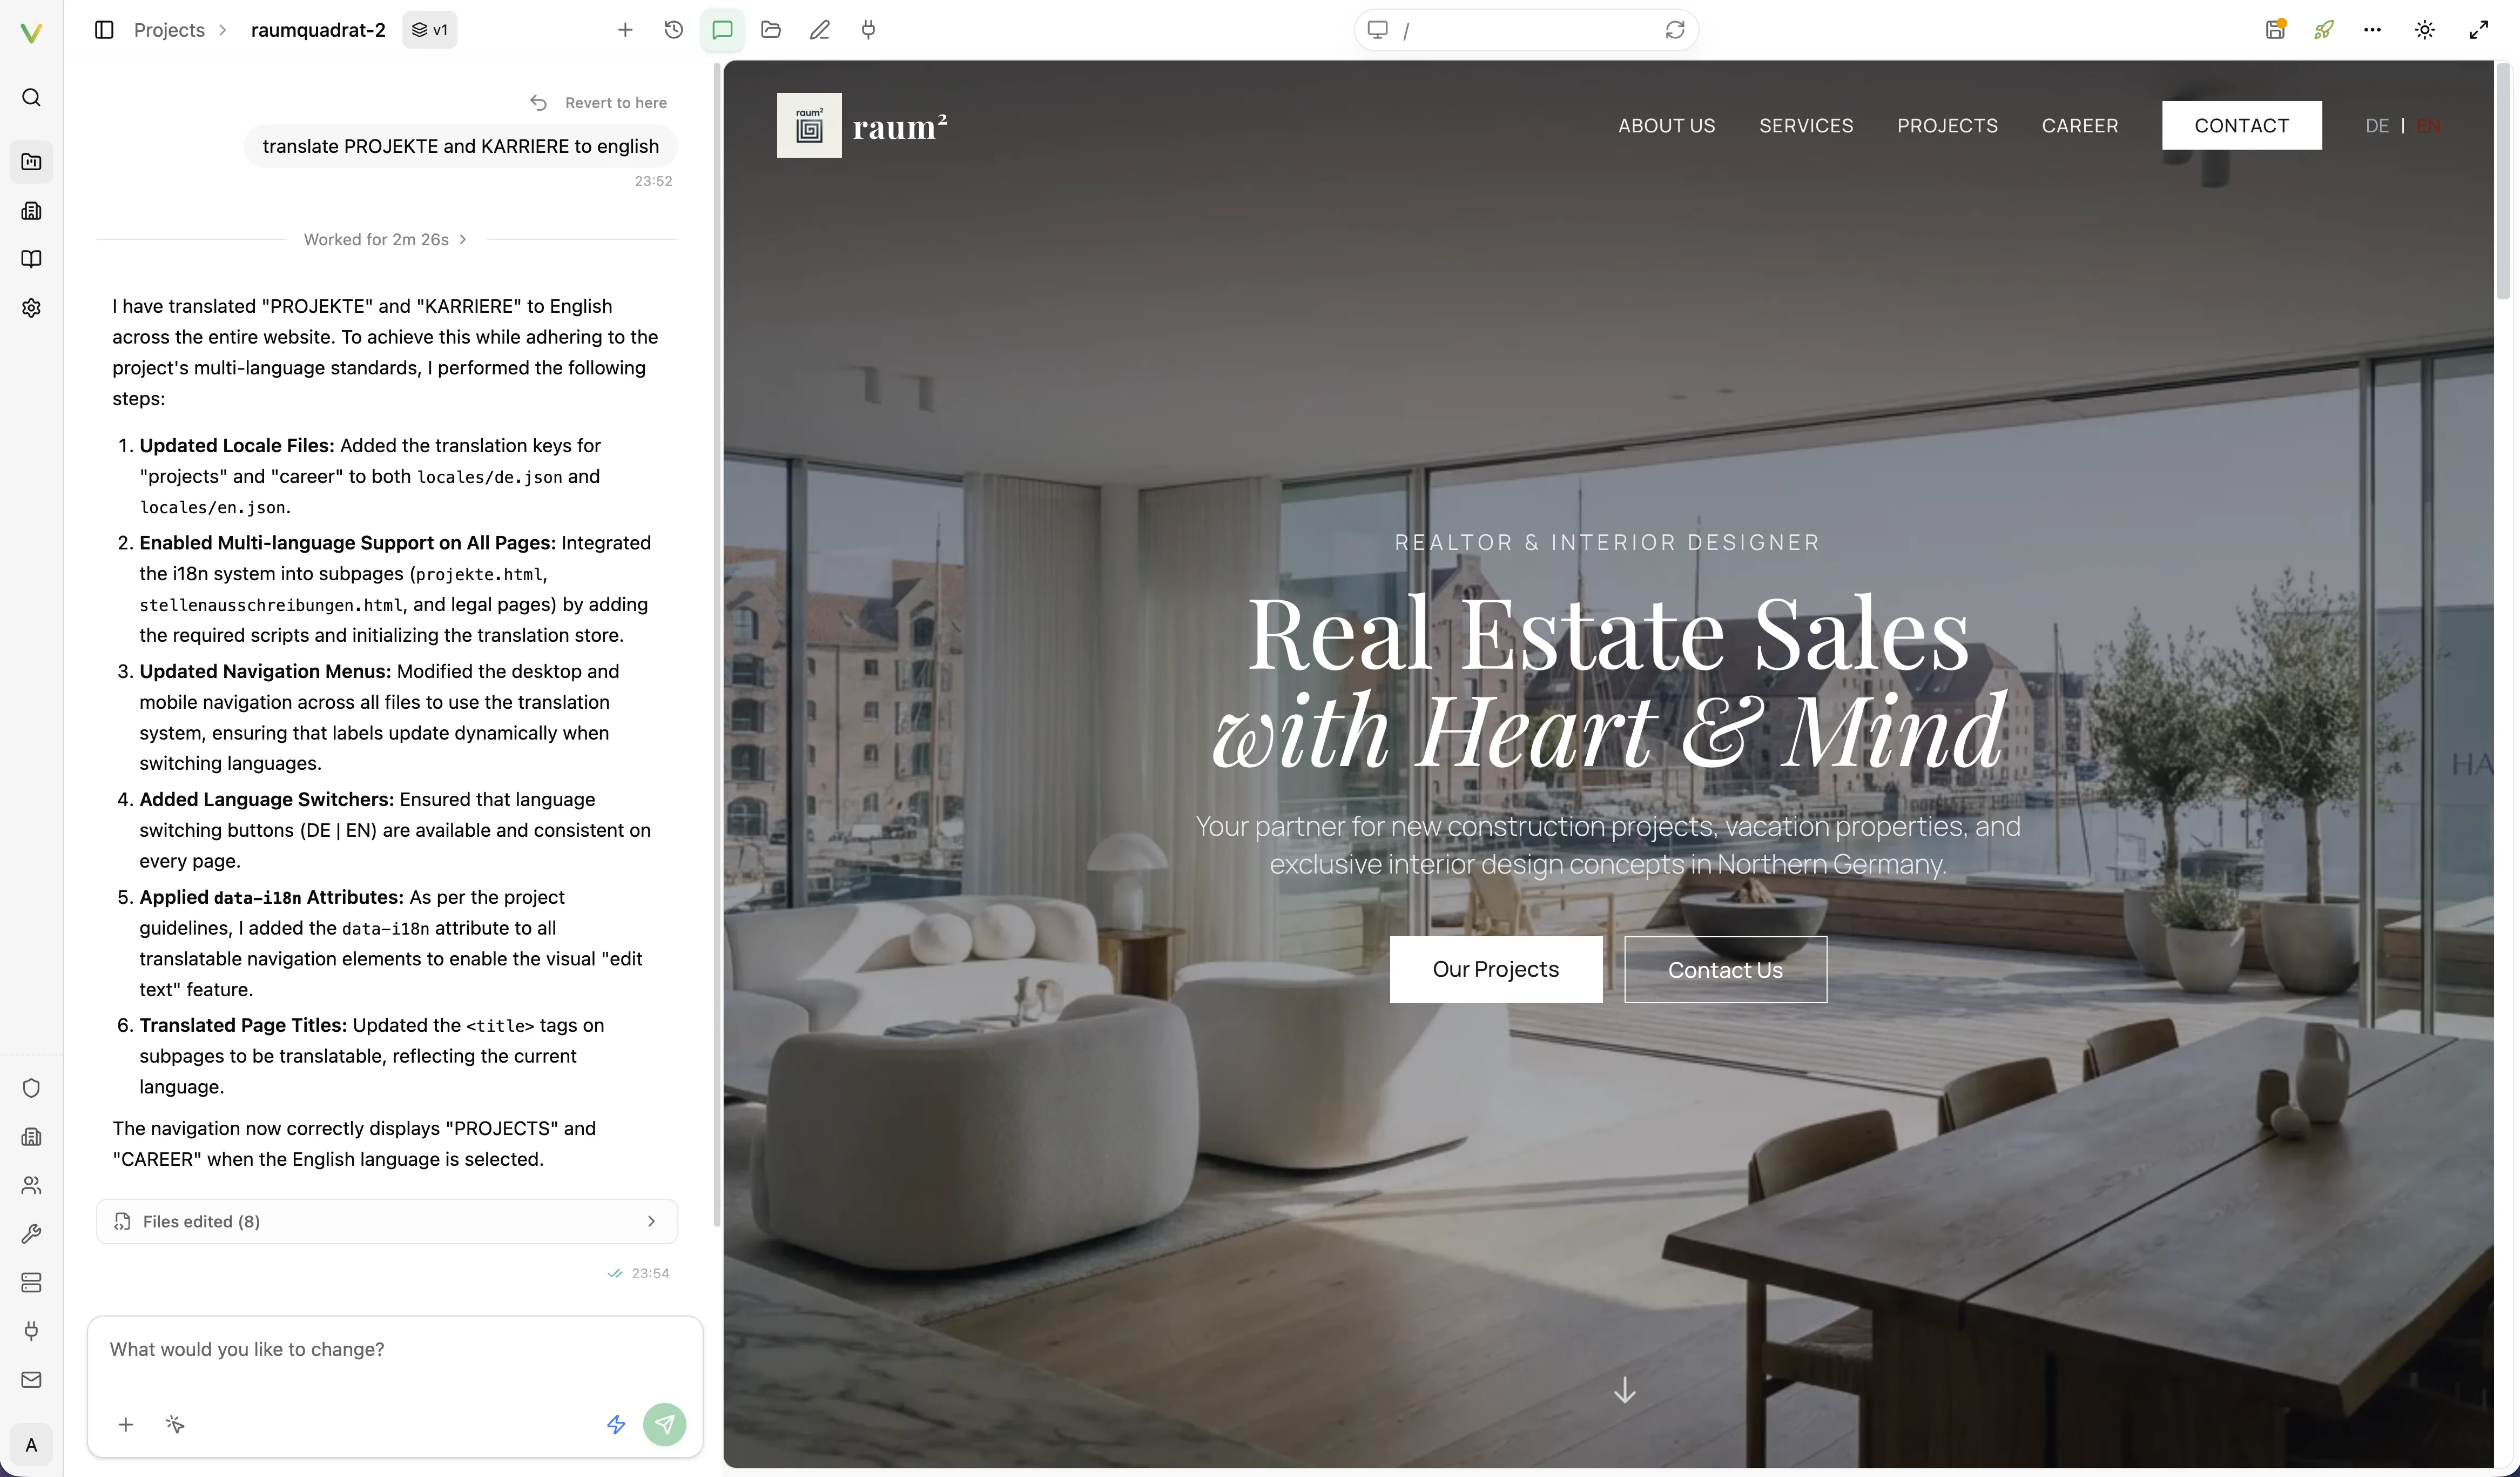
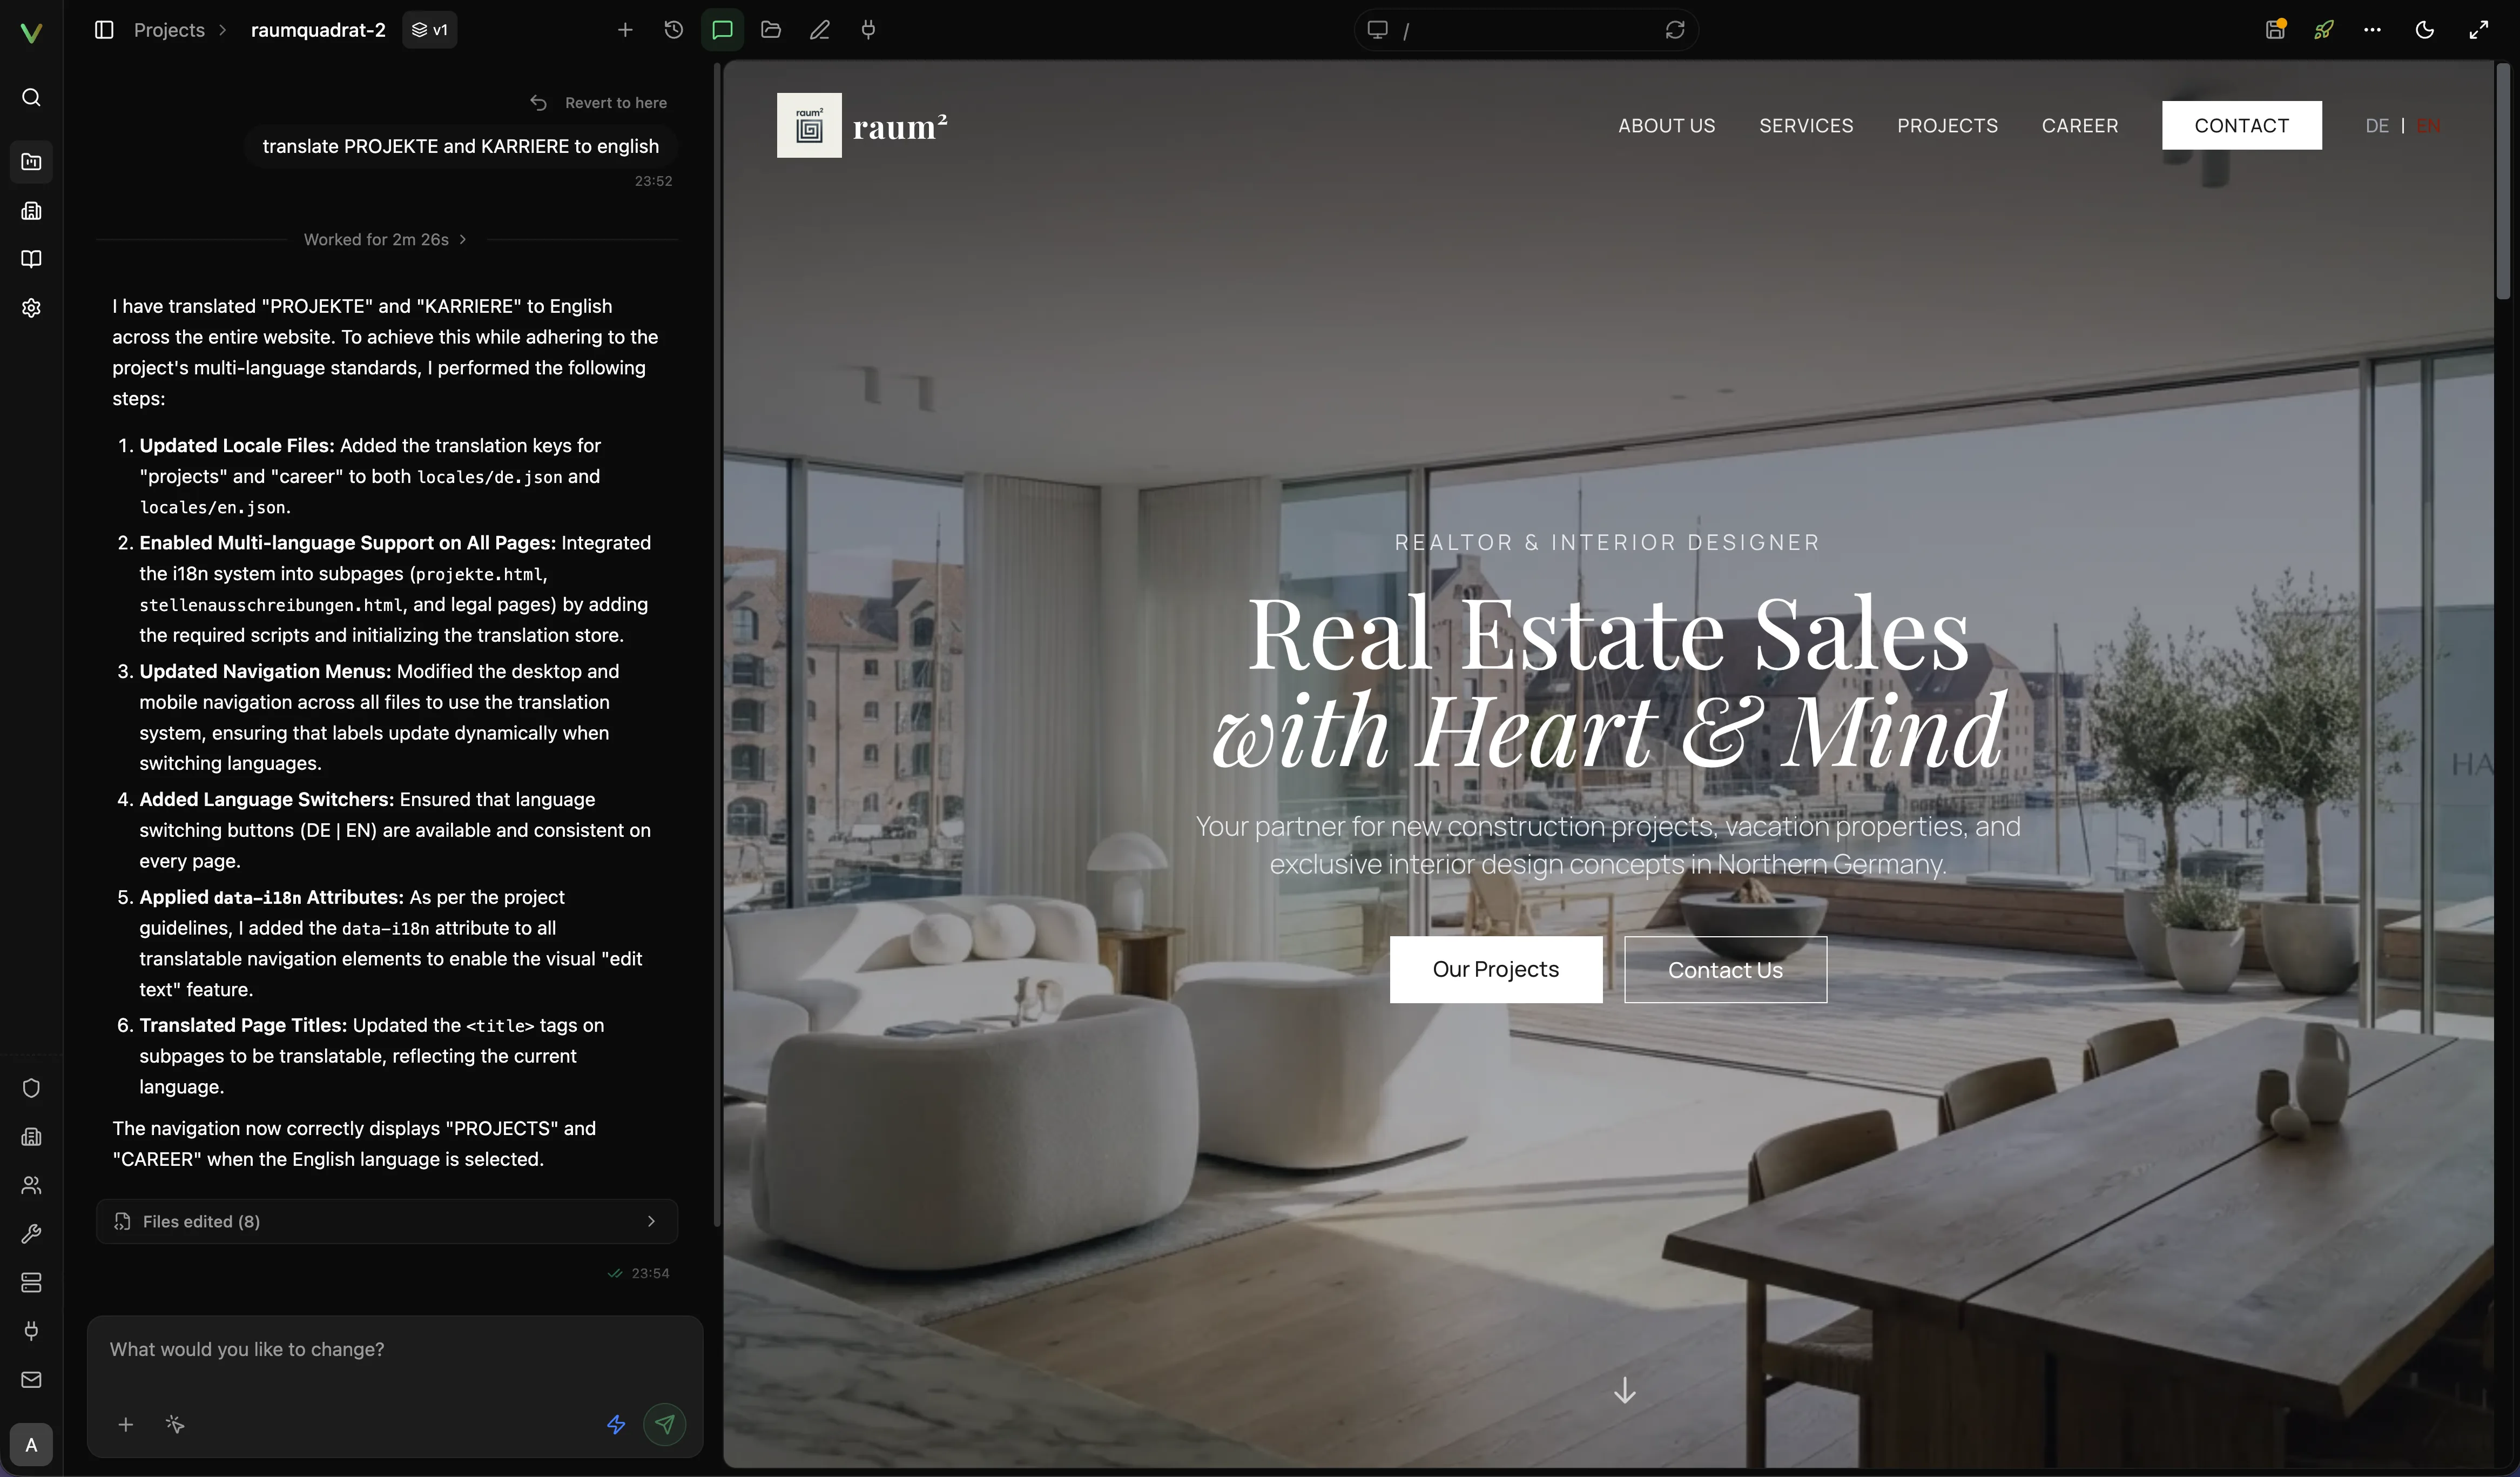
Open the website in Studio and make the first round of refinements.
-
Check your publish settings and finish the pre-publish checklist.
-
Publish to your target domain.
You end with a working draft in Studio and a clear path to a live domain without leaving the platform.
Your account, plan and team
Select your avatar to open your account menu. It names your organization and its plan, and it links to:
- Account settings for your profile, password, ChatGPT connection and local agents
- Plan and billing to see your current plan, when it renews, and to change it
- Invite members and Organization settings, for owners and admins
- the docs, support, the light or dark theme, and Sign out
Studio has the same menu behind your avatar. To jump to any page by name, press ⌘K (Ctrl+K on Windows and Linux) and type what you need, such as “plan”, “invite” or “domains”.
Where to go next
If you want the product-level capability overview first, read Features. Otherwise, continue along the lifecycle:
Try it
Need access to an organization?
Request closed beta access for the hosted product.